用Python将库打包发布到pypi代码示例
本篇文章小编给大家分享一下用Python将库打包发布到pypi代码示例,文章代码介绍的很详细,小编觉得挺不错的,现在分享给大家供大家参考,有需要的小伙伴们可以来看看。
1. 注册pypi账号并创建token
首先访问https://*py**pi.org/ 并注册账号
然后跳转到账号设置
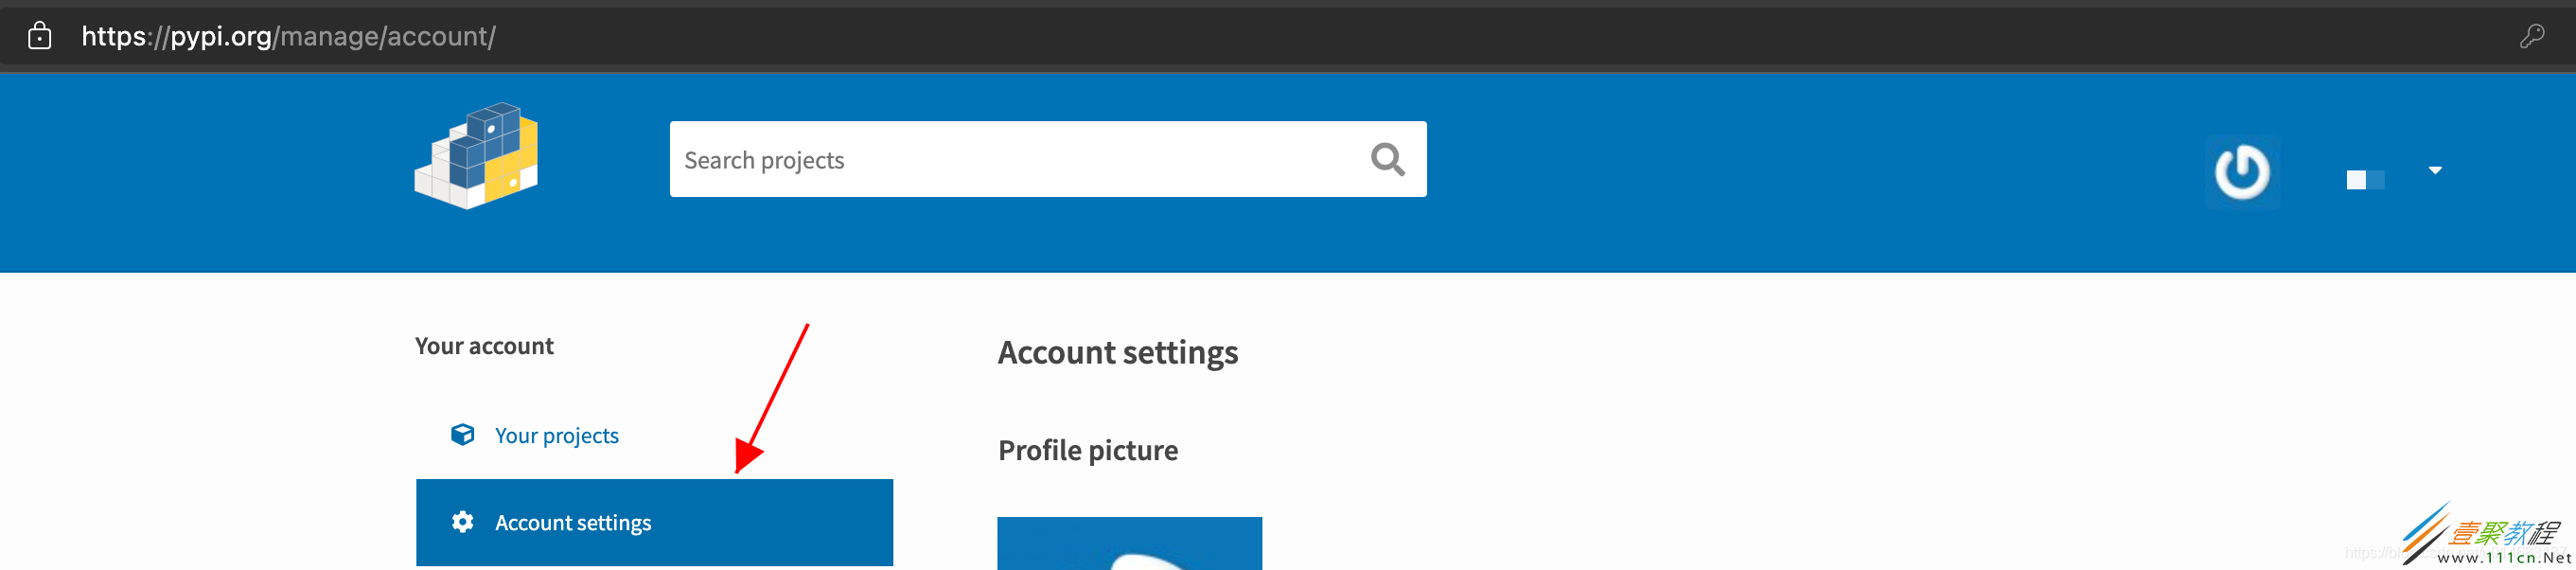
然后选择API token->Add API token
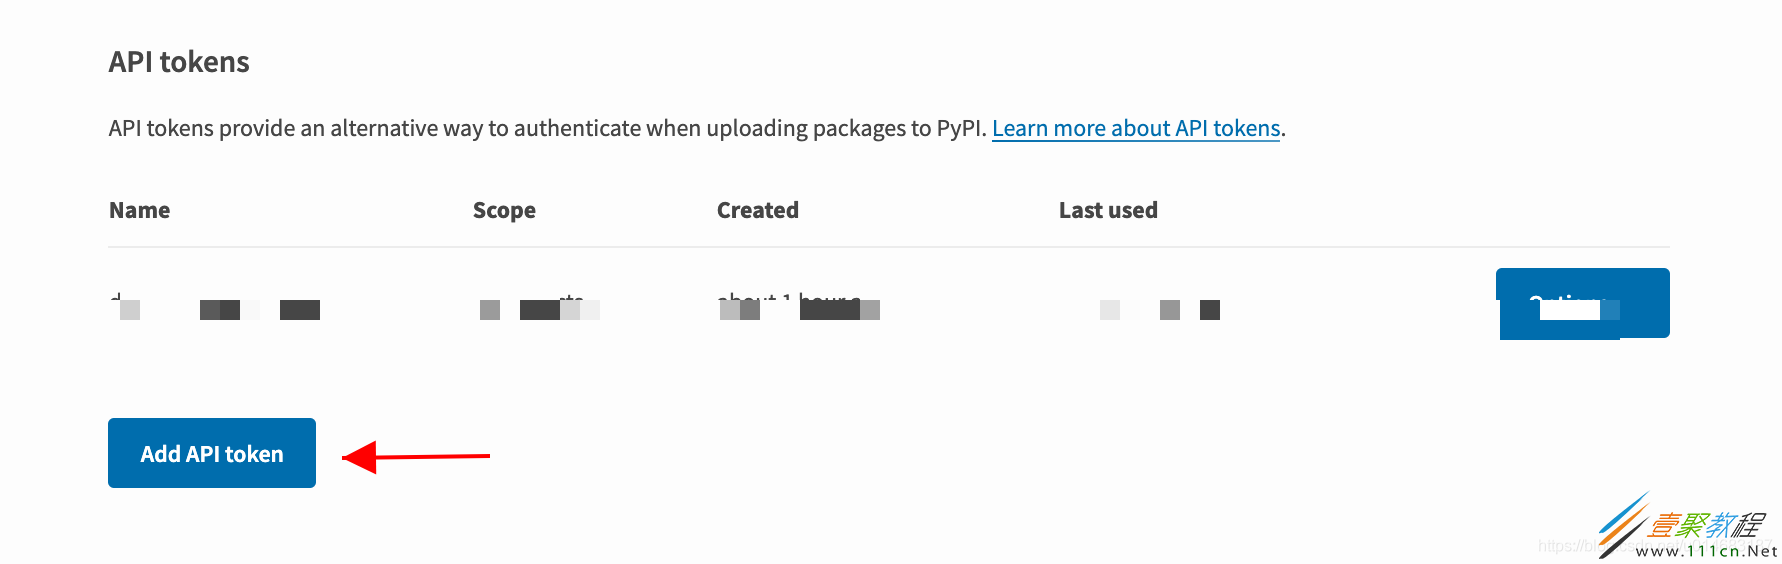
输入token name并在Scope中选择Entire account(第一次需要选择Entire account)

然后在本地,修改.pypirc文件
输入的内容为:
[pypi]
username = __token__
password = {token}
只需要修改{token}为自己的token即可
2. 编写setup.py和setup.cfg
setup.cfg的内容为
[metadata]
license_files = LICENSE.txt
LICENSE.txt是license文件,需要自行编写
setup.py在根目录下,一个示例为
from setuptools import setup
import compileall
from os import path
# 读取readme文件,这样可以直接显示在主页上
this_directory = path.abspath(path.dirname(__file__))
with open(path.join(this_directory, 'README.md'), encoding='utf-8') as f:
    long_description = f.read()

compileall.compile_dir("src")

setup(
    name='my-python',
    version='1.0.2',
    packages=['src',
              'src.main',
              'src.main.config'],
    url='https://g*i**thub.com/hTangle',
    license='Apache 2.0',
    author='hTangle',
    author_email='',
    description='',
    keywords='',
    python_requires='>=3.4,
具体的字段含义如下:
name: 包名
version: 版本号,支持如下形式
1.2.0.dev1  # Development release
1.2.0a1     # Alpha Release
1.2.0b1     # Beta Release
1.2.0rc1    # Release Candidate
1.2.0       # Final Release
1.2.0.post1 # Post Release
15.10       # Date based release
23          # Serial release
description: 包描述,会放在如下图所示的位置处

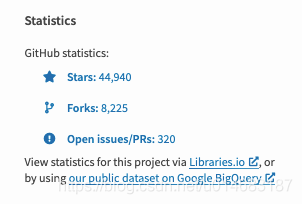
url: 包的链接,可以使用github链接,pypi会自动获取到仓库的信息,示例如下:
author: 作者
license: 许可证
classifiers: 分类,示例如下:
classifiers=[
    # How mature is this project? Common values are
    #   3 - Alpha
    #   4 - Beta
    #   5 - Production/Stable
    'Development Status :: 3 - Alpha',

    # Indicate who your project is intended for
    'Intended Audience :: Developers',
    'Topic :: Software Development :: Build Tools',

    # Pick your license as you wish (should match "license" above)
    'License :: OSI Approved :: MIT License',

    # Specify the Python versions you support here. In particular, ensure
    # that you indicate whether you support Python 2, Python 3 or both.
    'Programming Language :: Python :: 2',
    'Programming Language :: Python :: 2.7',
    'Programming Language :: Python :: 3',
    'Programming Language :: Python :: 3.6',
    'Programming Language :: Python :: 3.7',
    'Programming Language :: Python :: 3.8',
    'Programming Language :: Python :: 3.9',
],
keywords: 关键字,和论文的关键字类似
project_urls: 一些项目的其他链接,示例如下
project_urls={
    'Documentation': 'https://packaging.*p**ython.org/tutorials/distributing-packages/',
    'Funding': 'https://donate.pyp***i.org',
    'Say Thanks!': 'http://say*tha**nks.io/to/example',
    'Source': 'https://***github.com/pypa/sampleproject/',
    'Tracker': 'https://*g*it*hub.com/pypa/sampleproject/issues',
},
packages: 需要打包的目录,需要以根目录为起点,可以使用
find_packages自动查找包,注意不要漏写
install_requires: 包依赖的其他包
python_requires: python的版本需求
package_data: 需要的额外的文件,例如包强依赖一个本地文件,可以使用如下
package_data={
    'sample': ['package_data.dat'],
},
3. 打包
打包命令为
python setup.py cmd
cmd可以取值为
bdist_wheel : create a wheel distribution
bdist_egg : create an “egg” distribution
sdist : create a source distribution (tarball, zip file, etc.)
bdist : create a built (binary) distribution
bdist_dumb : create a “dumb” built distribution
bdist_rpm : create an RPM distribution
bdist_wininst : create an executable installer for MS Windows
打包为tar.gz
python setup.py sdist
打包好的文件再dist目录下
4. 上传
可以首先使用twine对包进行检查
twine check dist/*
输出如下

再运行上传命令
twine upload dist/*