Open-Feign整合hystrix降级熔断代码实例
作者:袖梨
2022-06-29
本篇文章小编给大家分享一下Open-Feign整合hystrix降级熔断代码实例,文章代码介绍的很详细,小编觉得挺不错的,现在分享给大家供大家参考,有需要的小伙伴们可以来看看。
一、服务端
1、配置文件
application.yml
server:
  port: 9000

spring:
  application:
    name: my-test2 #服务的名称
2、控制层
@RestController
public class ShoppingController {
    @RequestMapping("/myTestBuy2")
    public String myTestBuy2(){
        //用来模拟服务超时
        try {
            Thread.sleep(6000);
        } catch (InterruptedException e) {
            e.printStackTrace();
        }
        return "购买成功——时间:"+ new SimpleDateFormat("yyyy-MM-dd HH:mm:ss").format(new Date());
    }
}
二、客户端
1、依赖
            org.springframework.cloud
            spring-cloud-starter-openfeign


            org.springframework.cloud
            spring-cloud-starter-netflix-hystrix
2、配置文件
server:
  port: 8000

spring:
  application:
    name: my-test1 #服务的名称

#允许服务降级配置
feign:
  hystrix:
    enabled: true

#自定义ribbon的超时时间 设置的要比hystrix-timeoutInMilliseconds超时时间大
ribbon:
  #指的是建立连接后从服务器读取到可用资源所用的时间。
  ReadTimeout: 10000
  #指的是建立连接所用的时间,适用于网络状况正常的情况下,两端连接所用的时间,处理请求的超时时间,默认为5秒。
  ConnectTimeout: 10000

hystrix:
  command:
    default:
      execution:
        isolation:
          thread:
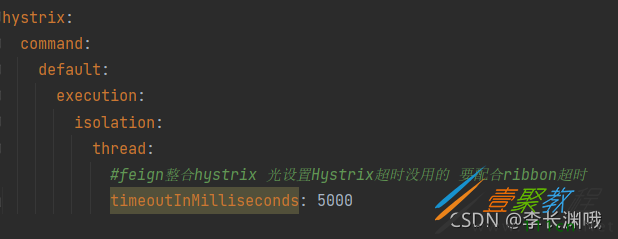
            #feign整合hystrix 光设置Hystrix超时没用的 要配合ribbon超时
            timeoutInMilliseconds: 5000

my-test2:
  url: http://127.*0*.*0.1:9000
3、启动类
@SpringBootApplication
@EnableFeignClients//开启open-feign
@EnableHystrix//开启降级熔断服务
public class MyTestApplication1 {
    public static void main(String[] args) {
        SpringApplication.run(MyTestApplication1.class,args);
    }
}
4、在控制层当中调用
@RestController
public class TestController1 {
    @Autowired
    TestService1 testService1;

    @RequestMapping("/myTestBuy1")
    public String myTestBuy2(){
        return testService1.myTestBuy2();
    }

}
5、创建一个类实现服务FeignClient接口
@Component
public class MyHystrix1 implements TestService1 {
    @Override
    public String myTestBuy2() {
        return "调用失败,该服务被熔断——时间:"+ new SimpleDateFormat("yyyy-MM-dd HH:mm:ss").format(new Date());
    }
}
6、在服务FeignClient接口上配置FallBack实现类
@FeignClient(name = "my-test2", url = "${my-test2.url}", fallback = MyHystrix1.class)
public interface TestService1 {
    @RequestMapping("/myTestBuy2")
    String myTestBuy2();
}
三、测试
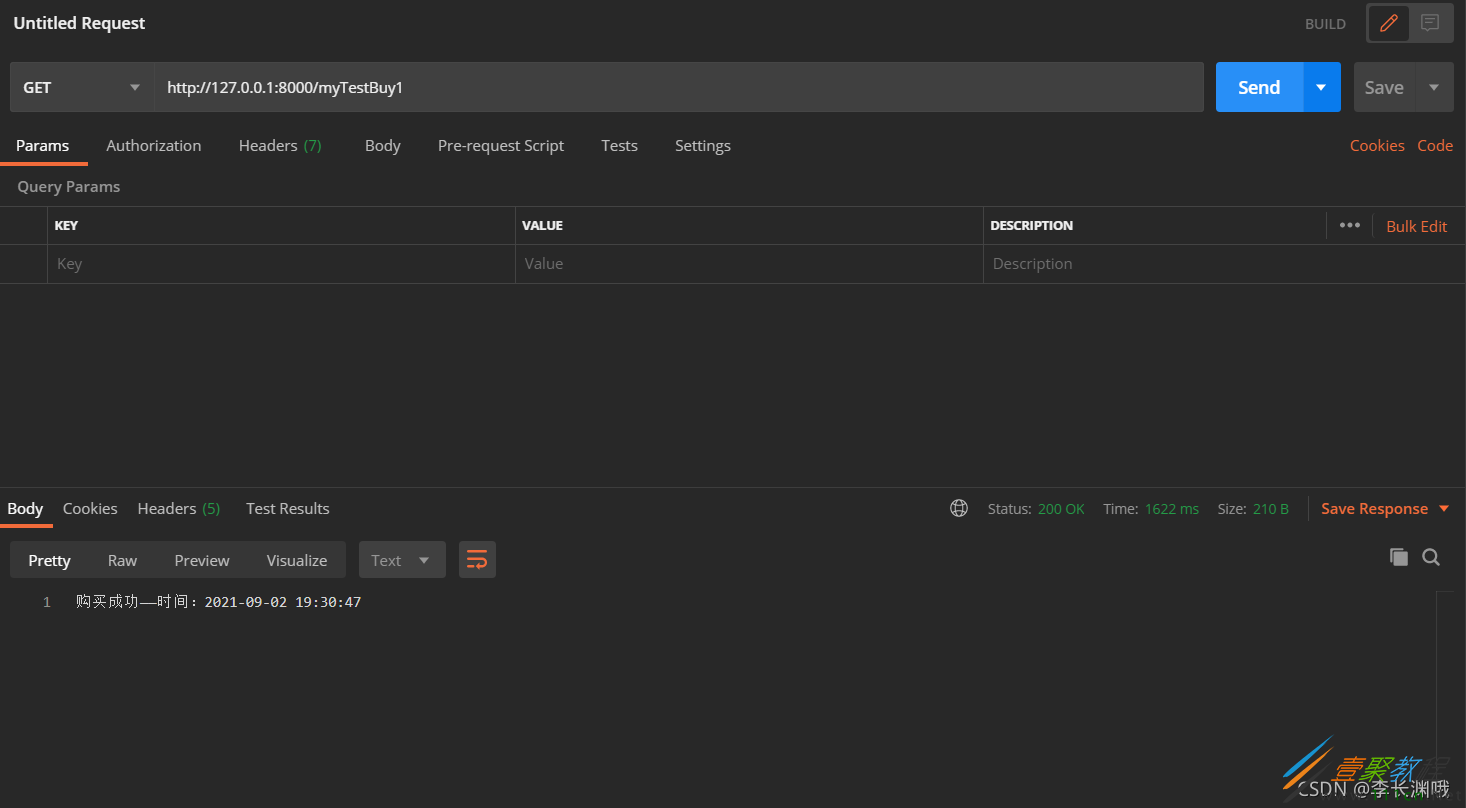
1、场景一服务正常调用
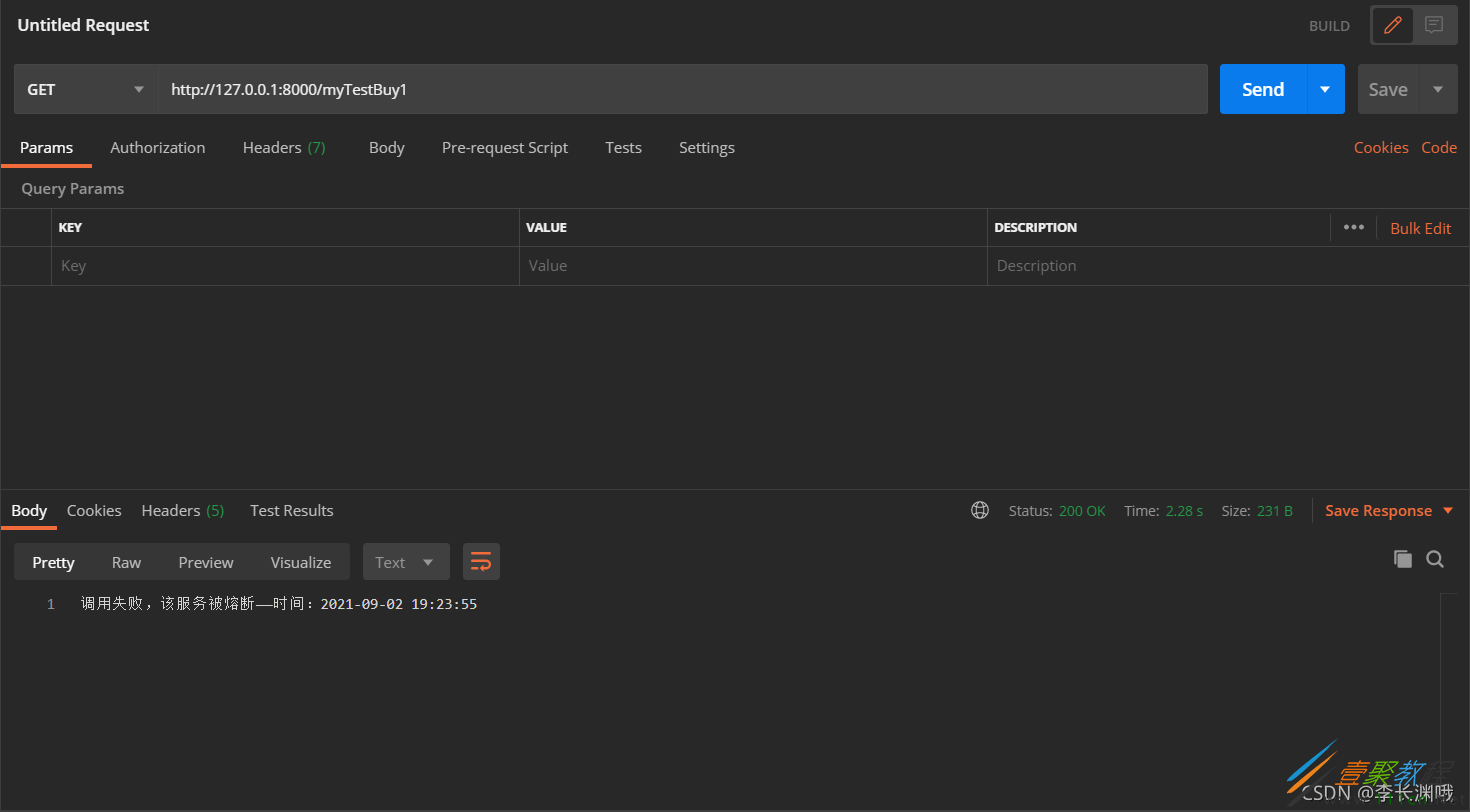
2、场景二当被调服务停止运行时
只给两秒的时间,则自动启动熔断
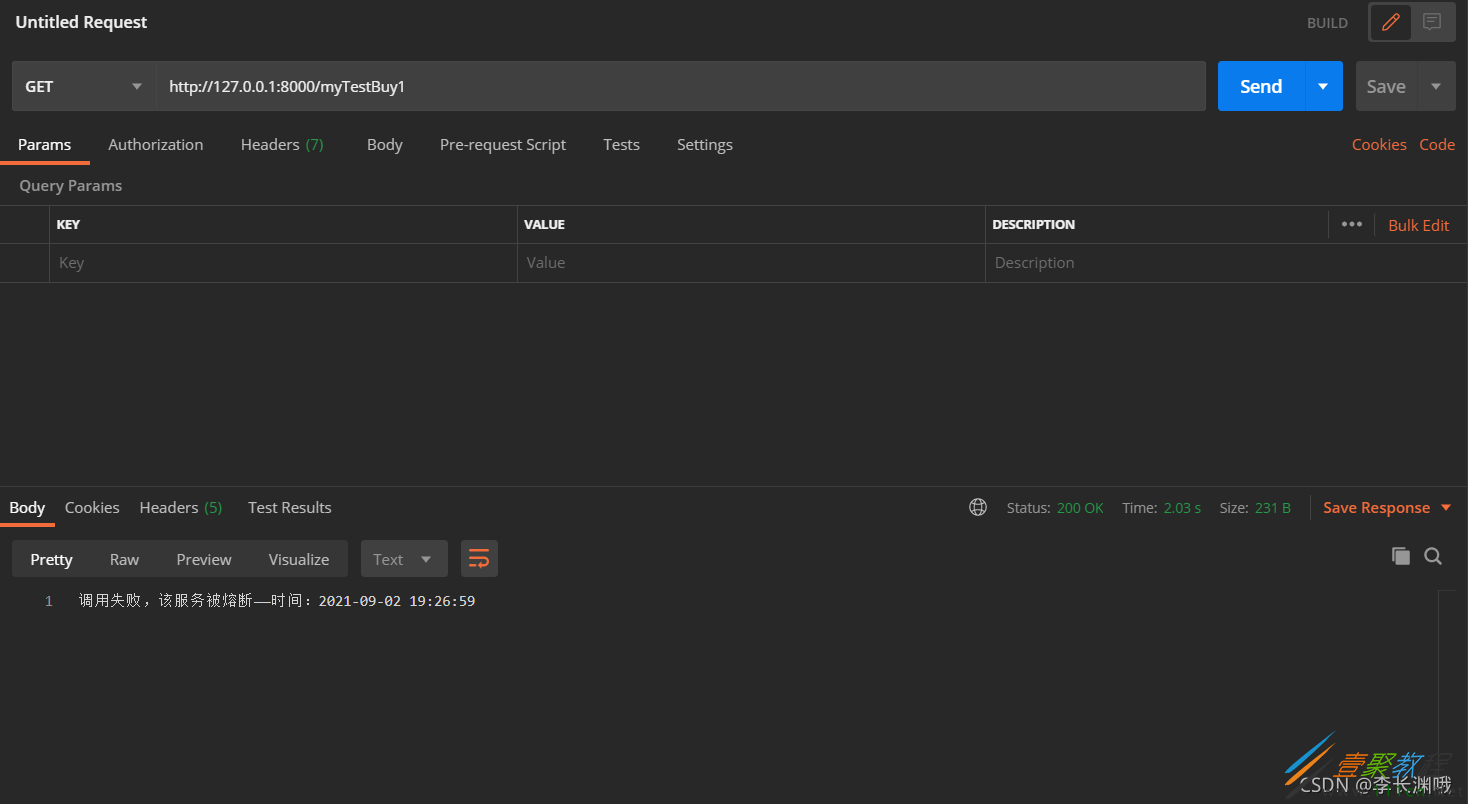
3、场景三当调取服务超时时
熔断时间根据hystrix设置的时间,我这里设置的是5秒
4、其他

