springboot整合druid及配置依赖代码示例
作者:袖梨
2022-06-29
本篇文章小编给大家分享一下springboot整合druid及配置依赖代码示例,文章代码介绍的很详细,小编觉得挺不错的,现在分享给大家供大家参考,有需要的小伙伴们可以来看看。
配置依赖
jdbc 依赖、数据库依赖(mysql),druid 依赖
        com.alibaba
        druid-spring-boot-starter
        1.1.17


        org.springframework.boot
        spring-boot-starter-jdbc


        mysql
        mysql-connector-java
基本-配置信息
在 application.yaml 里
spring:
#  数据库
  datasource:
    url: jdbc:mysql://localhost:3306/test?useSSL=false&serverTimezone=UTC&allowPublicKeyRetrieval=true&characterEncoding=utf-8
    username: root
    password: root
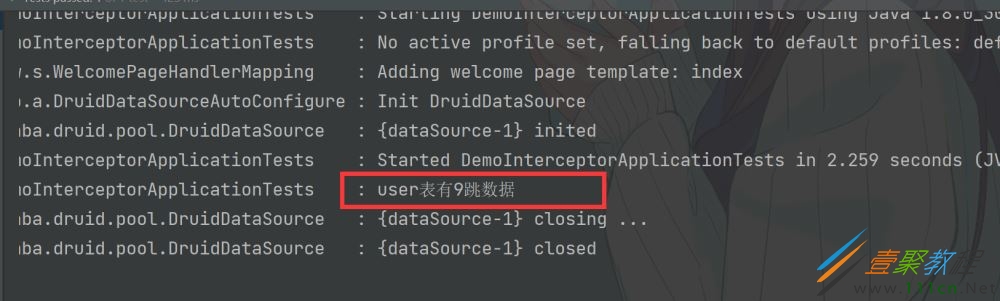
做一个简单的查询,测试结果如图:
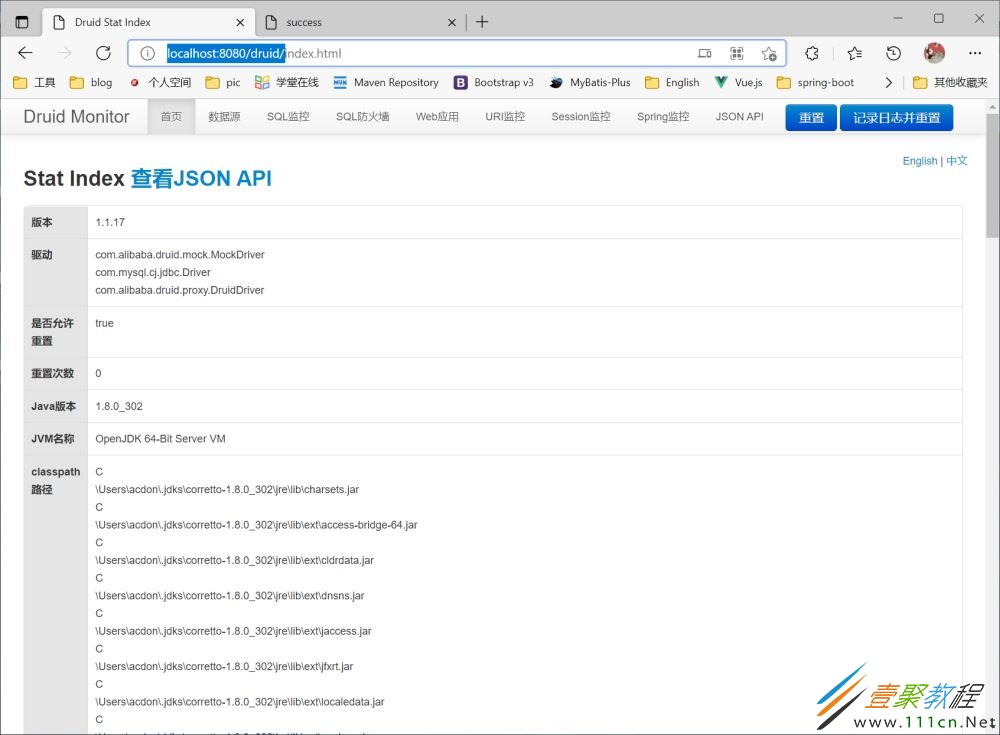
扩展-配置 druid 监控功能
在 spring-datasource 下
配置防火墙、监控页,开启web监控
spring:

#  数据库
  datasource:
    url: jdbc:mysql://localhost:3306/test?useSSL=false&serverTimezone=UTC&allowPublicKeyRetrieval=true&characterEncoding=utf-8
    username: root
    password: root

    # druid 配置
    druid:
      # 配置监控防火墙功能
      filters: stat,wall # 这两个详细参数可通过 filter-xxx 配置
      filter:
        stat:
          enabled: true
          slow-sql-millis: 1000 # 设置 1000ms 为慢查询
          log-slow-sql: true  # 开启慢查询监控
        wall: # 在这里可配置 不允许更新、不允许删除等操作
          enabled: true

      # 开启监控页,并配置账号密码
      stat-view-servlet:
        enabled: true
        login-username: admin
        login-password: admin
        # reset-enable: false # 重置按钮

      # 开启web 监控功能。 urlPattern 和 exclusions 有默认值
      web-stat-filter:
        enabled: true

      # aop-patterns: cc.acdongla.boot.* 配置监控包
启动项目后,http://l*ocalho**st:8080/druid/可进入 druid 的监控页