python爬取气象台每日天气图代码示例
作者:袖梨
2022-06-25
本篇文章小编给大家分享一下python爬取气象台每日天气图代码示例,文章代码介绍的很详细,小编觉得挺不错的,现在分享给大家供大家参考,有需要的小伙伴们可以来看看。
1.安装Selenium
Selenium是一个Web的自动化(测试)工具,它可以根据我们的指令,让浏览器执行自动加载页面,获取需要的数据等操作。
pip install selenium
2. 安装chromedriver
Selenium 自身并不具备浏览器的功能,Google的Chrome浏览器能方便的支持此项功能,需安装其驱动程序Chromedriver
下载地址:http://chromedriver.sto*rage.goo*g*leapis.com/index.html
在google浏览器的地址栏输入‘chrome://version/’,可以查看版本信息,下载接近版本的就可以。
3.代码
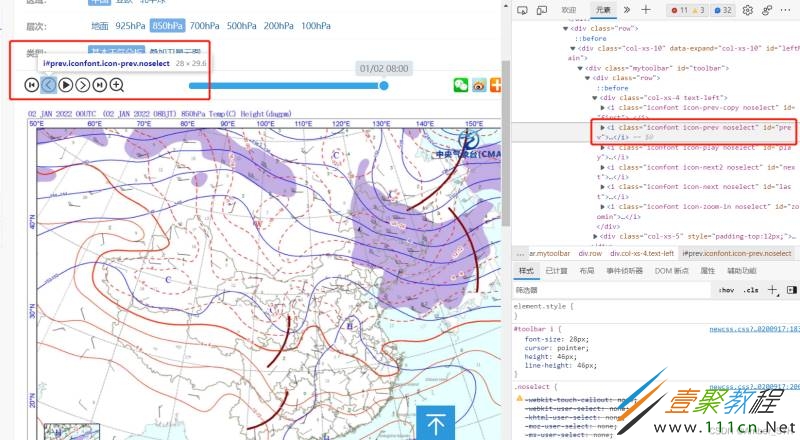
从图里可以看到,向前翻页指令对应的id是'prev'
from selenium import webdriver  ## 导入selenium的浏览器驱动接口
from selenium.webdriver.common.action_chains import ActionChains
from selenium.webdriver.support.ui import Select
import time
import os
import urllib.request
level=['地面','925hPa','850hPa','700hPa','500hPa','100hPa']

chrome_driver = '路径/chromedriver.exe'  #chromedriver的文件位置
driver = webdriver.Chrome(executable_path = chrome_driver)          #加载浏览器驱动
driver.get('http://www.***nmc.cn/publish/observations/china/dm/weatherchart-h000.htm')  #打开页面
time.sleep(1)
#模拟鼠标选择高度层
for z in level:
    button1=driver.find_element_by_link_text(z)     #通过link文字精确定位元素
    action = ActionChains(driver).move_to_element(button1) #鼠标悬停在一个元素上
    action.click(button1).perform()                        #鼠标单击
    time.sleep(1)
    for p in range(0,6):    #下载最近6个时次的天气图
        str_p=str(p)
        #模拟鼠标选择时间
        button2=driver.find_element_by_id('prev')             #通过id精确定位元素
        action = ActionChains(driver).move_to_element(button2) #鼠标悬停在一个元素上
        action.click(button2).perform()                        #鼠标单击
        time.sleep(1)
    #模拟鼠标选择图片
        elem_pic = driver.find_element_by_id('imgpath')       #通过id精确定位元素
        action = ActionChains(driver).move_to_element(elem_pic)
    #action.context_click(elem_pic).perform()              #鼠标右击
        filename= str(elem_pic.get_attribute('src')).split('/')[-1].split('?')[0]  #获取文件名
    #获取图片src
        src1=elem_pic.get_attribute('src')
        if os.path.exists('存图路径/'+z+'') is not True :
            	os.makedirs('存图路径/'+z+'')
        urllib.request.urlretrieve(src1 , '存图路径/'+z+'/'+filename)
        print(filename)
        time.sleep(1)
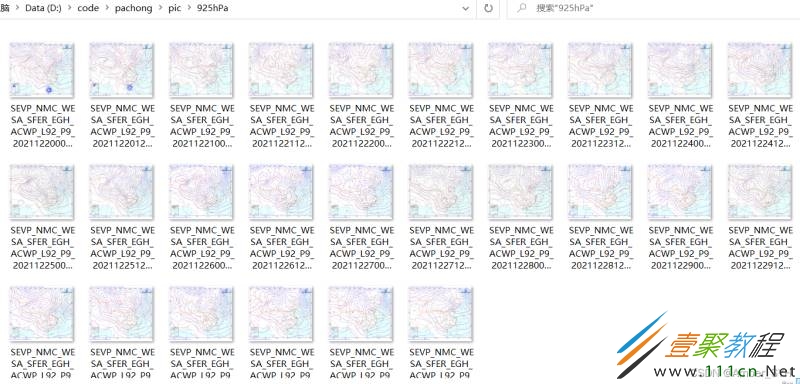
然后就可以轻松的爬取所有图片


