python切割图片实现代码示例
作者:袖梨
2022-06-25
本篇文章小编给大家分享一下python切割图片实现代码示例,文章代码介绍的很详细,小编觉得挺不错的,现在分享给大家供大家参考,有需要的小伙伴们可以来看看。
用opencv处理一下
pillow也可以,但是试过有时候会把图片自动旋转180°,cv没有这个问题
import os
from cv2 import cv2


def split_image(src_path, rownum, colnum, file):
    img = cv2.imread(src_path)
    # cv2.imwrite(path, img)
    size = img.shape[0:2]
    w = size[1]
    h = size[0]
    # print(file, w, h)
    # 每行的高度和每列的宽度
    row_height = h // rownum
    col_width = w // rownum
    num = 0
    for i in range(rownum):
        for j in range(colnum):
        	# 保存切割好的图片的路径,记得要填上后缀,以及名字要处理一下,可以是
        	# src_path.split('.')[0] + '_' + str((i+1)*(j+1)) + '.jpg'
            save_path = ''
            row_start = j * col_width
            row_end = (j+1) * col_width
            col_start = i * row_height
            col_end = (i+1) * row_height
            # print(row_start, row_end, col_start, col_end)
            # cv2图片: [高, 宽]
            child_img = img[col_start:col_end, row_start:row_end]
            cv2.imwrite(save_path, child_img)


if __name__ == '__main__':
    # 可以遍历文件夹
    # file_path = r'我是路径(文件夹路径)'
    # for file in file_names:
    # src_path 具体图片路径,包含后缀
    src_path = ''
    row = 4
    col = 4
    split_image(src_path, row, col, file.split('.')[0])
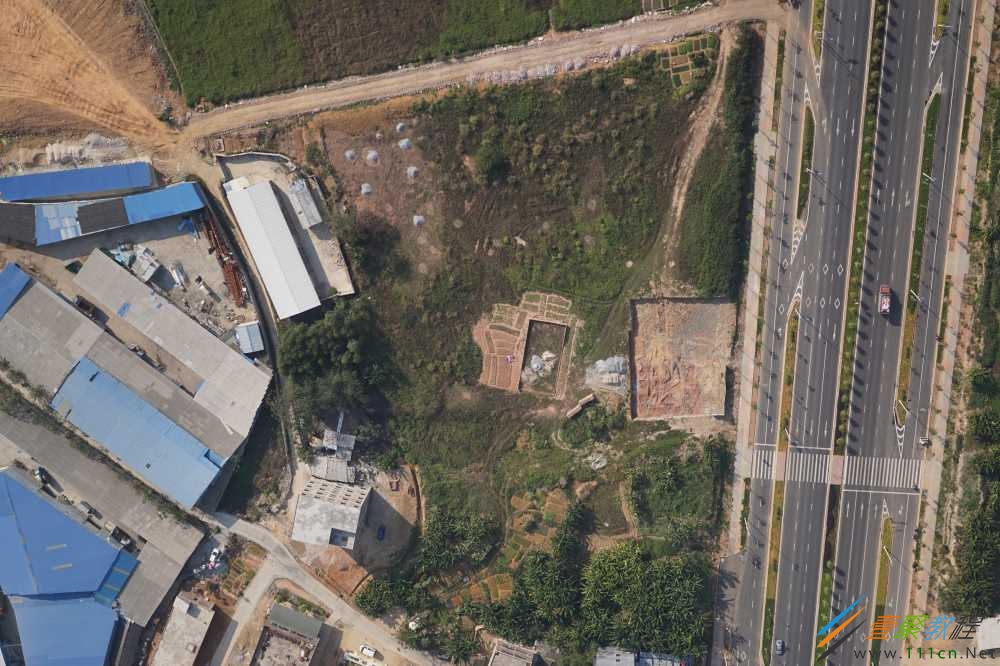
原图:
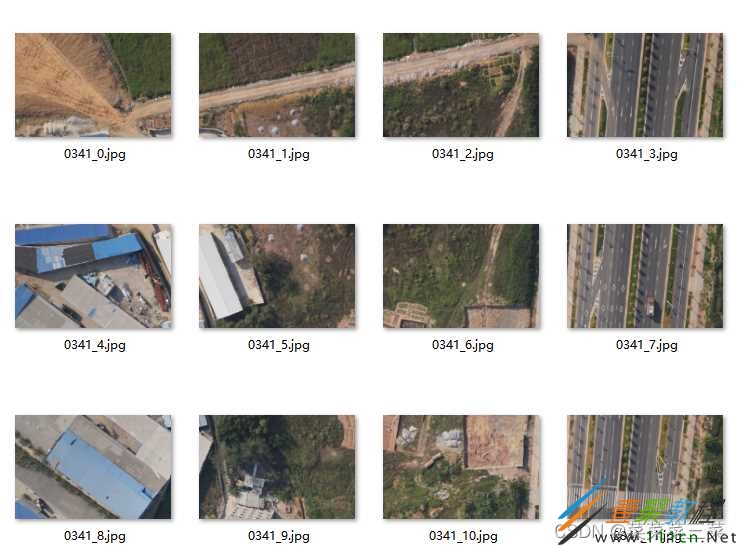
切割后:


